This is about
Code
6 minutes
02 Sep 2022
This is about
Code
6 minutes
02 Sep 2022
Interactive marquee with Framer Motion


We care a lot about extending a design idea into an interactive and tangible digital experience. Depending on the project we try out different techniques in the initial prototyping phase. These prototypes then grow into what later on forms a base in the development stage of our project pipeline.
With this collaborative approach in mind, we keep the momentum going in both design and development teams aiming to create inspiring bits and pieces for each other that all funnel into the final result.

We recently launched a website in collaboration with UNDP called Blir världen bättreSee also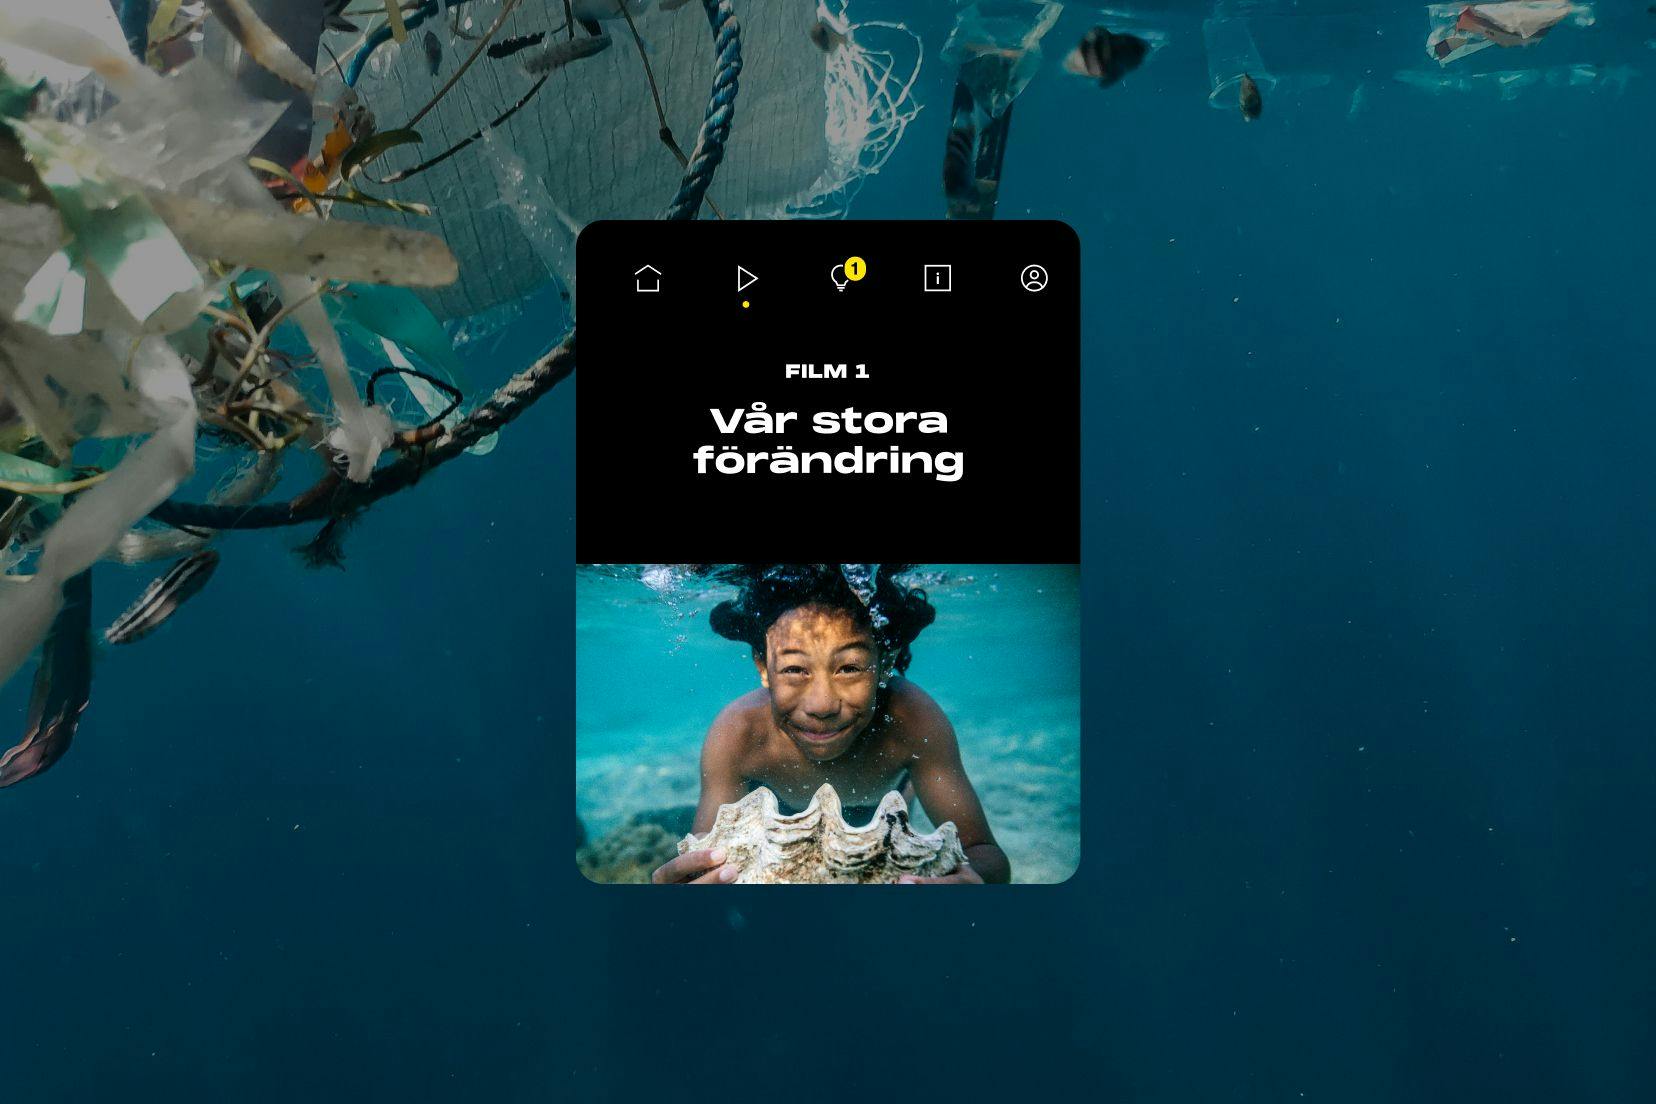 United NationsCase?
This website is a digital experience specifically tailored for the younger generation reflecting on the state of the world and helping them get a better sense of the world we live in today. Having this particular group as our main audience, we needed to emphasize that in art direction, motion concepts and finally deliver an inspiring web experience with lots of interaction and animations to capture the viewers’ eyes.
One of the examples of this type of interaction is the hashtag navigation on the main page. It’s using an infinite marquee layout which enables the visitors to seamlessly loop through the content and interact with it. In this blog post we’ll revisit this layout with a twist.
Tech stack
There are more than a few ways to create marquees with pure CSS even, like we did here for the Pluto projectSee also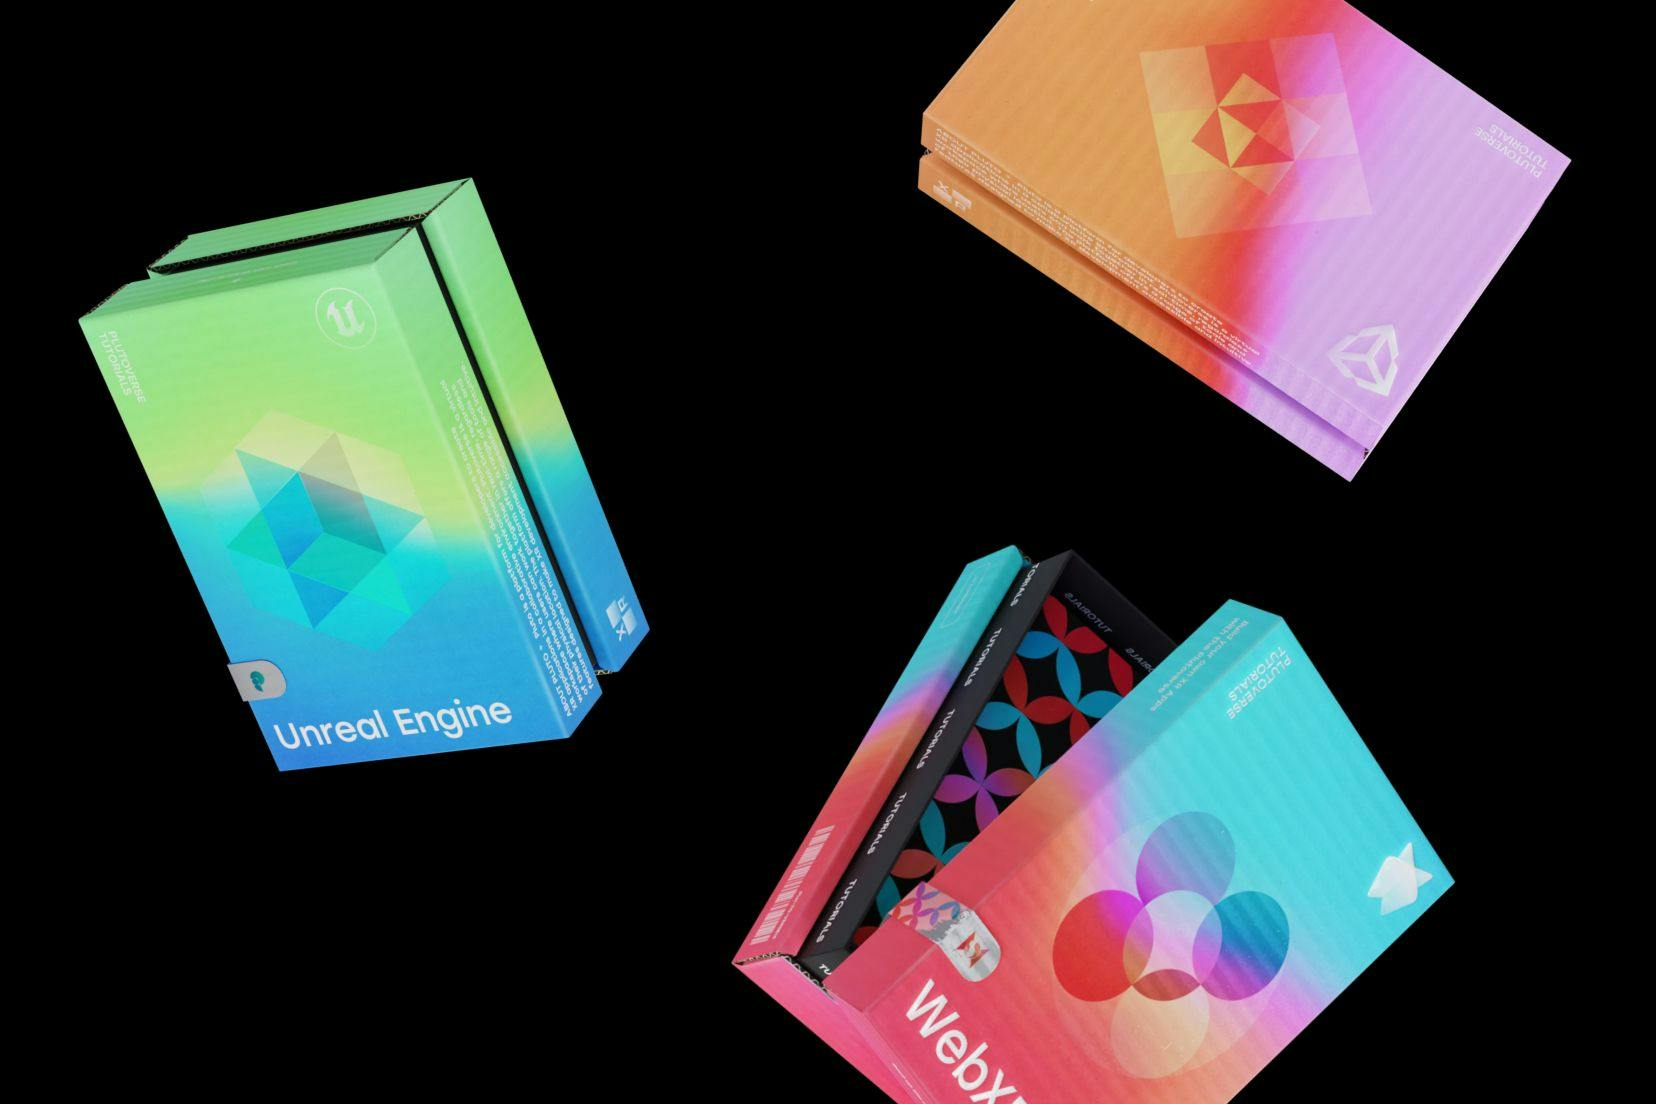 PlutoCase. But, since we want the marquee to be interactive — scrollable and draggable, we need to go for JS to add the interactive sauce.
We’ll create this hero marquee using React and Framer Motion, some of our current go-to front-end tools.
Assuming most of you are already familiar with React, let’s give a bit of an intro to Framer Motion. It’s a motion library based on the popular design prototyping tool. It’s built for React, meaning it relies on the declarative paradigm (as opposed to the very popular GSAP library for instance). It’s also adding a lot of tools and features under the hood. Very useful docs with examples available here.
Code structure
The main App.js file contains all the code we need for this example, apart from a basic CSS styling which is located in style.css. The InteractiveMarquee is the core component here.
Framer Motion relies on the internal motion component to add interactivity to a DOM element. In the return part of our stateless functional component we use motion.div and attach event listeners, similar to what would be done with addEventListener method in vanilla javascript.
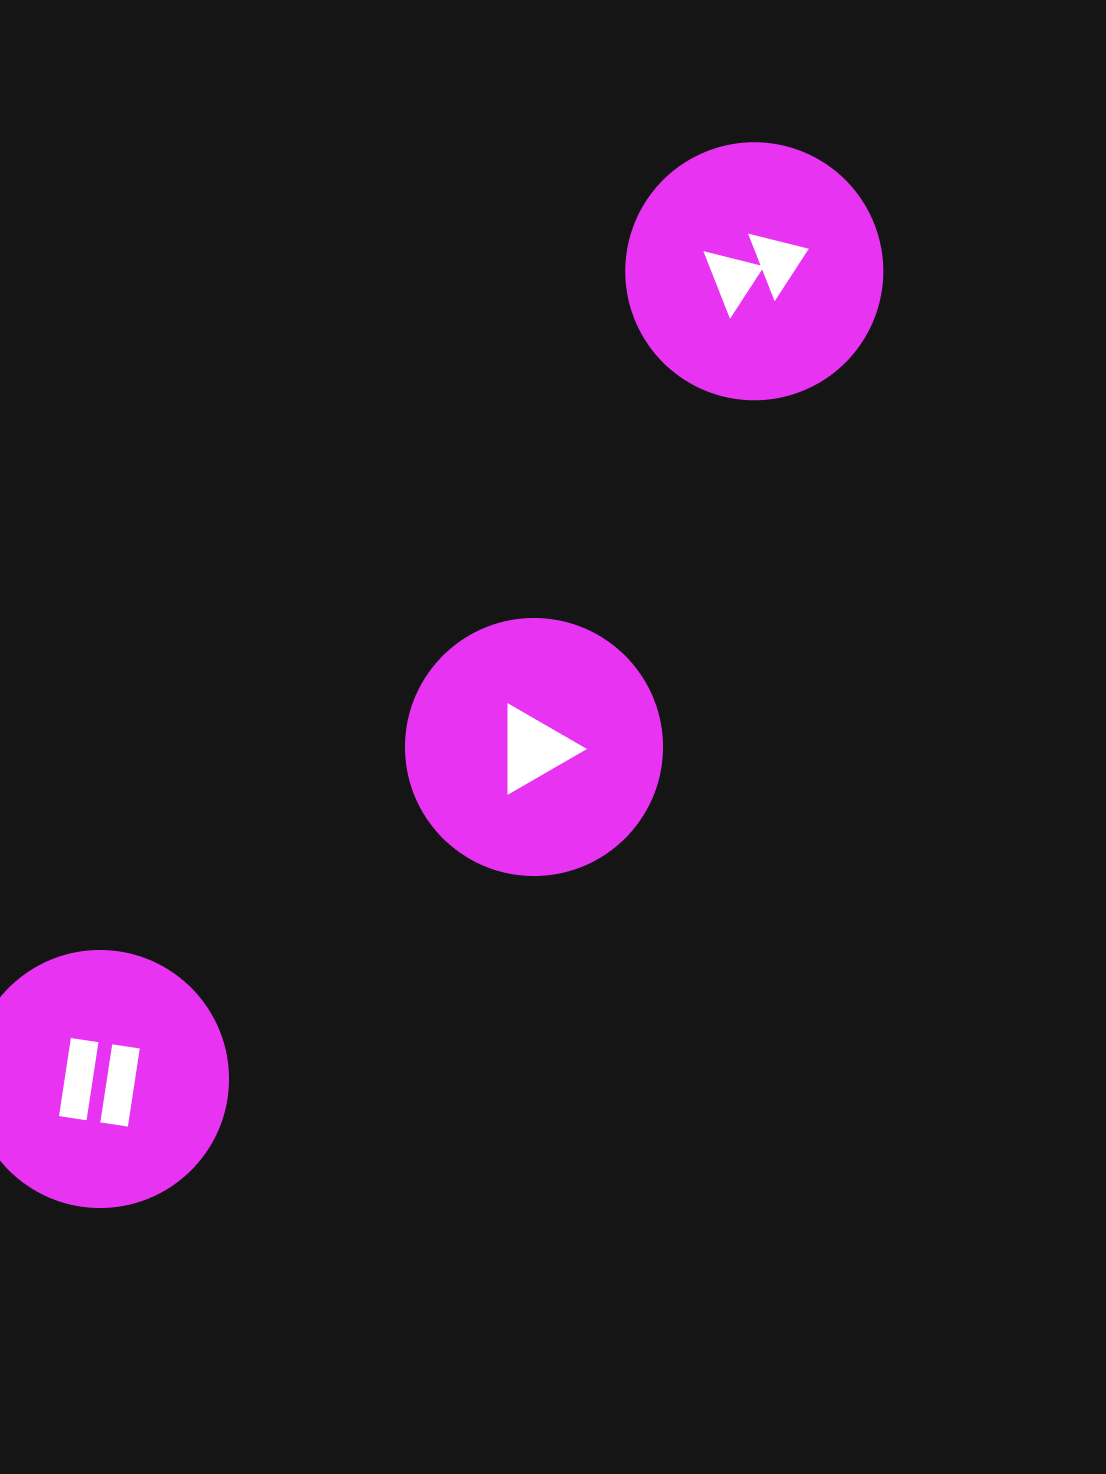
There are two main interactions in this example onWheel and onDrag with a few additions:
- onWheel is a callback that simulates scroll behavior as it is invoked after each mousewheel interaction. After normalizing the read value to compensate for different browser engines, we store this number in a ref, setting the distance of pixels covered by wheel interaction. This normalized value is then used in a requestAnimationFrame loop where we set the actual speed at which the marquee will move based on the wheel direction.
onDrag with the addition of onDragStart and onDragEnd callbacks define the draggable behavior of the marquee. Setting drag prop to “x” limits the direction to horizontal and setting dragConstraints to 0 allows for reading the values of the drag interaction, but will not actually drag the DOM element out of place. This is useful as after each interaction we set the speed value manually and apply to a child element and not the actual dragged container.
Performance - When not to re-render?
But how do we store the calculated value, are we setting state somewhere? One of the main concepts in React is state — setting it and reading from it to update the UI. This of course causes re-renders and while being the core piece of logic in React, it can have an impact on performance significantly if occurring too many times, resulting in low fps and bad ux.
An approach to overcome this is to resort to useRef hook and mutate the value which would then be read in a rAF loop for example. But what if we need more control of the value, what if we need to be able to pass the value down the component tree and listen to when the value has changed to do further calculations? Or what if it’s not just a single number but a more complex piece of information containing certain physical properties like damping, mass, stiffness, etc? In come useMotionValue and useSpring — hooks that bypass React’s render cycle and allow for visual updates without compromising performance through re-renders.
MarqueeItem and background effects
The InteractiveMarquee component holds two marquee items which flow one after the other. This is achieved by applying transformation along the x axis and listening to when the entire item is off screen. Then, its position is set directly before or after the now visible item, depending on the speed. We perform this routine within the rAF callback of the MarqueeItem component achieving a seamless looping effect of the content.
To add more sprinkle on top, we created another motion div which updates its opacity based on the speed motion value, responding to the intensity of the interaction. The opacity of course needs to be contained within 0 to 1 range and this can be done using a Framer Motion utility hook called useTransform, which maps the given motion value into a desired range.
The approach displayed here is mainly to be treated as a concept and can and should be extended further. Touch actions would need to be implemented. Based on the scope, accessibility would need to be taken into account and allow for tabbing or other keyboard interactions. Furthermore, the marquee layout can be optimized by splitting it into smaller chunks or built-upon, for example adding images and creating galleries. Maybe even rotating the layout at an angle making it diagonal and adding more rows for a denser visual effect — like this.
Grab this starter codesandbox and make it your own. 🖖
Droplets
Droplets
Sign-up to get the latest insight from 14islands. We send a newsletter only once every quarter with inspirational links and creative news. It's short and sweet. You can unsubscribe it at any time.