This is about
Code
8 minutes
10 Feb 2021
This is about
Code
8 minutes
10 Feb 2021
Developing a performant custom cursor
Enriching a visual experience of a creative website and taking an existing static design to the next level by adding interactivity can be done in various ways. Here, we’ll explore one of these ways by looking at how to add a custom cursor as an independent UI element — a UI element which will be interactive and visually interesting, but also be practical. We’ll focus on some coding snippets to provide the foundation for extending this basis further and making it your own.
Why a custom cursor?
From a UX perspective, introducing a custom cursor is very shady territory, to say the least. For one thing, it interferes with the natural browser/system behavior. Adding another visual element on top of the existing cursor icon, or completely replacing the default one, modifies the standard interface a website visitor is used to. So, immediately, eyebrows will be raised. However, if you are working with a design which is welcoming to a more creative front-end approach, the established, somewhat strict school of thought can be questioned in favor of the product you are working on.
A custom cursor could indicate several different things. For example, it could serve as a label indicating the hover state of an element, or it could be used as a scroll progress indicator — i.e., how far down the page the user has scrolled. Another interesting idea is to have the cursor as an integral part of the website, existing as a mixture of the website loader and page transition element. You could even show content like images or videos that follow the user’s cursor position as they interact with different parts of a website.
One of the websites where you can find some of these ideas in a single place is this Awwwards collection.
Interesting… Can we make one? The how.
Depending on the tech stack you’re comfortable with, there are a number of approaches you can choose when developing a custom cursor. You could rely on WebGL to handle the rendering, as we did on our website, or, depending on the scenario, you could reach for a more straightforward DOM-oriented approach: mimic the cursor by using a DOM element and create the visuals you need.
This article covers a thinking process behind creating a DOM-based cursor, which can then be extended and built upon in various directions depending on the purpose, while keeping in mind performance optimization techniques.
Code structure
Let’s start off with a few lines JavaScript. First, we’ll create a simple ES6 class called Cursor. The constructor method inside this class contains a few of the configuration properties related to speed and positioning as well as a call to the init method.
We invoke the init method which creates a scoped logic for our cursor. Inside, we’ll do a few things. Initially, we trigger a utility for binding the two main methods we’re using,onMouseMove and render, to the class instance. Then, we add a mousemove event listener from which we’ll gather the needed data. Finally, we register a requestAnimationFrame.
A note on the requestAnimationFrame
The core concept which we’ll base our logic on is the requestAnimationFrame (rAF) loop. rAF is an integral part of the window API. This method accepts a callback which is invoked when there are enough resources to do a repaint. This way we are sending the browser a request notifying that we are looking to perform an animation by calling the specified callback function before the next screen repaint, the next frame.
Usually, a requestAnimationFrame callback should, after some internal code execution (e.g., an animation step), invoke itself again in order to produce a continuous function call — creating a sequenced animation render loop. What is also important here is that rAF returns an ID that allows for it to be cancelled, meaning we do not have to keep calling this loop over and over the entire time — for example, while the user is not moving the mouse. We’ll store this ID within the rAF property of the Cursor instance to be able to cancel it when the mouse is in idle state.
Moving the mouse
In order to customize the visuals which will act as a cursor, we need to hook into the native mousemove event and get the position of the mouse on the screen so we can apply that to the custom cursor (e.g a <div>). Let’s see what happens onMouseMove.
If we consider our screen as the area in which the cursor is located, we can define the perimeter or the coordinate system in which the movement takes place as {x: 0, y: 0} in the upper left corner and {x: 1, y: 1} in the lower right.
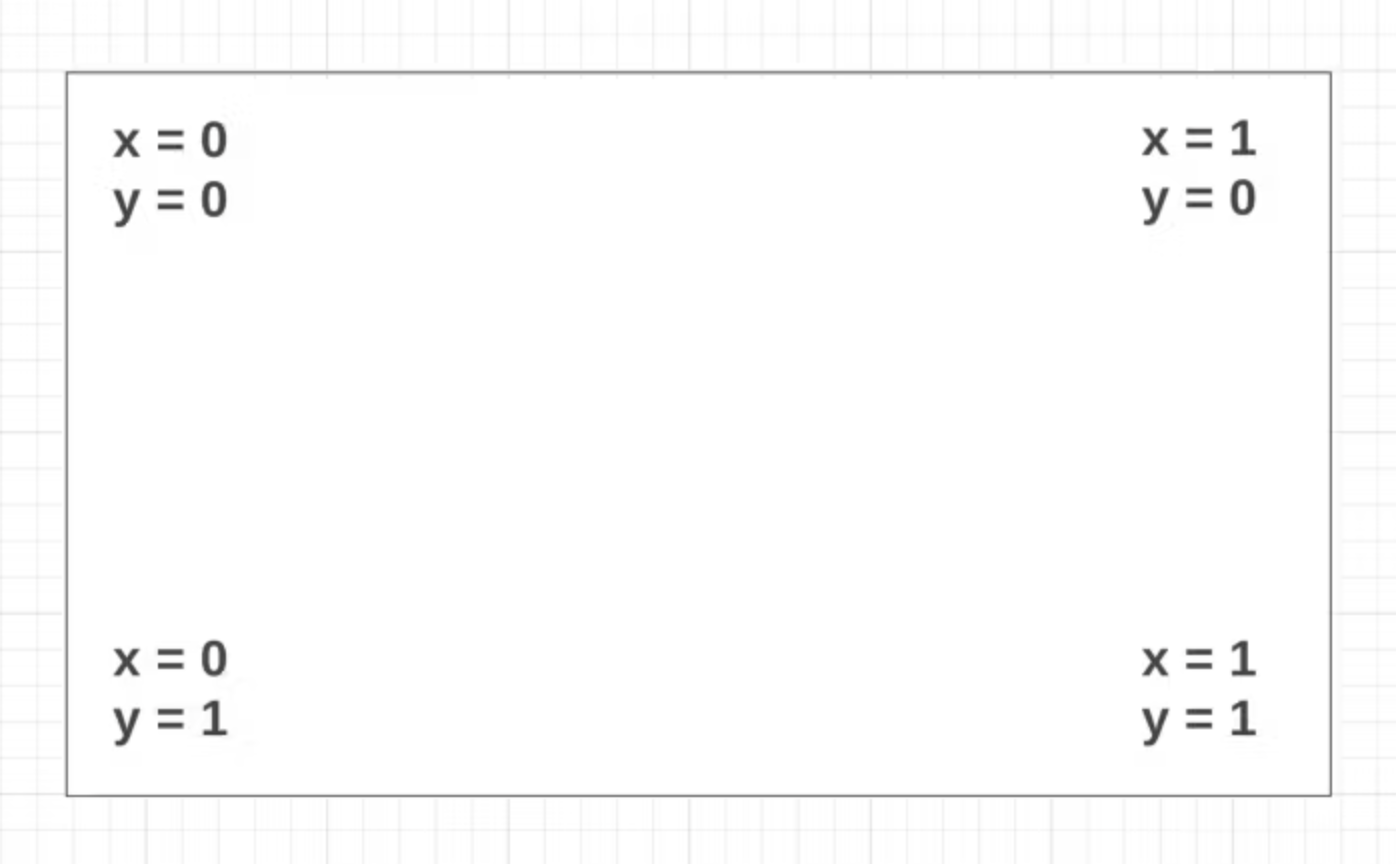
While listening to the mousemove event, we get the value of the mouse position by reading from the e.clientX for the horizontal coordinate and e.clientY for the vertical coordinate. These values are pixel values and therefore need to be divided by the corresponding axis length (width or height of the viewport in pixels) to normalize the result between 0 and 1, our coordinate system boundaries. We then store these two values as x and y properties of the target object literal inside the Cursor class. These are now the target coordinates, the current mouse position normalized within the defined coordinate system.
Lastly, we check if the before-mentioned render loop is inactive (the cursor was previously in an idle state) and re-trigger it if needed, since we registered a new mousemove that indicates our cursor element should move as well, following the mouse, rendering to the new position.
The render loop
Now, we need to apply the calculated values to something visual. In this approach we’ll use CSS variables, so this could be almost anything. Let’s see how it works.
Firstly, we interpolate the position values — the mouse and the custom cursor coordinates. Interpolation means that we’ll calculate the needed value based on two given values. So, estimating where the next cursor position should be is based on the current cursor position and the user’s exact mouse position. This way, we are easing into the new cursor position with a smoother curve.
How much delay there will be is determined by the third argument of the lerp function which we’ve initially defined as the speed property inside the constructor method. It should be a value between 0 and 1. Closer to 0, and a more significant delay will be introduced, while with the speed set to 1, the cursor element will move into the new position instantly.
Secondly, we assign the interpolated values to the CSS variables. Here, we’re setting the variables to the root element (the HTML tag) so they can be accessed within any CSS selector we might use down the DOM tree.
Note: lerp is an external utility function defined as:
Finally, we check if the mouse and the cursor coordinates match within a certain small threshold. If this is true, it means that the mouse has stopped moving and is in idle state, so we cancel the animation frame instead of doing another request and do a hard return from the method to prevent unnecessary reoccurring renders. On the other hand, if the mouse is still moving, this condition is false and the render continues and requests the next animationframe.
A few tips
- This approach doesn’t require the use of CSS variables. It can be directly implemented to an HTML element as its inline styles.
- The rAF assignment within the init method is simply there to place the cursor in the middle of the screen by default.
Be mindful of the speed property, as values really close to 0 could provide rendering lag.
In conclusion
The implementation described above isn’t limited to simply moving a dot as we are doing here. Apart from creating endless fun for your cat, you can, for example, animate the background color with CSS, tween the opacity of an element or series of elements, tilt elements, move elements closer to the cursor as it moves, show images and videos as you hover over certain words, and so on.
Consider this reference as a possible starting point when doing your next creative project involving a custom cursor and feel free to build upon it → Source code.
In practice
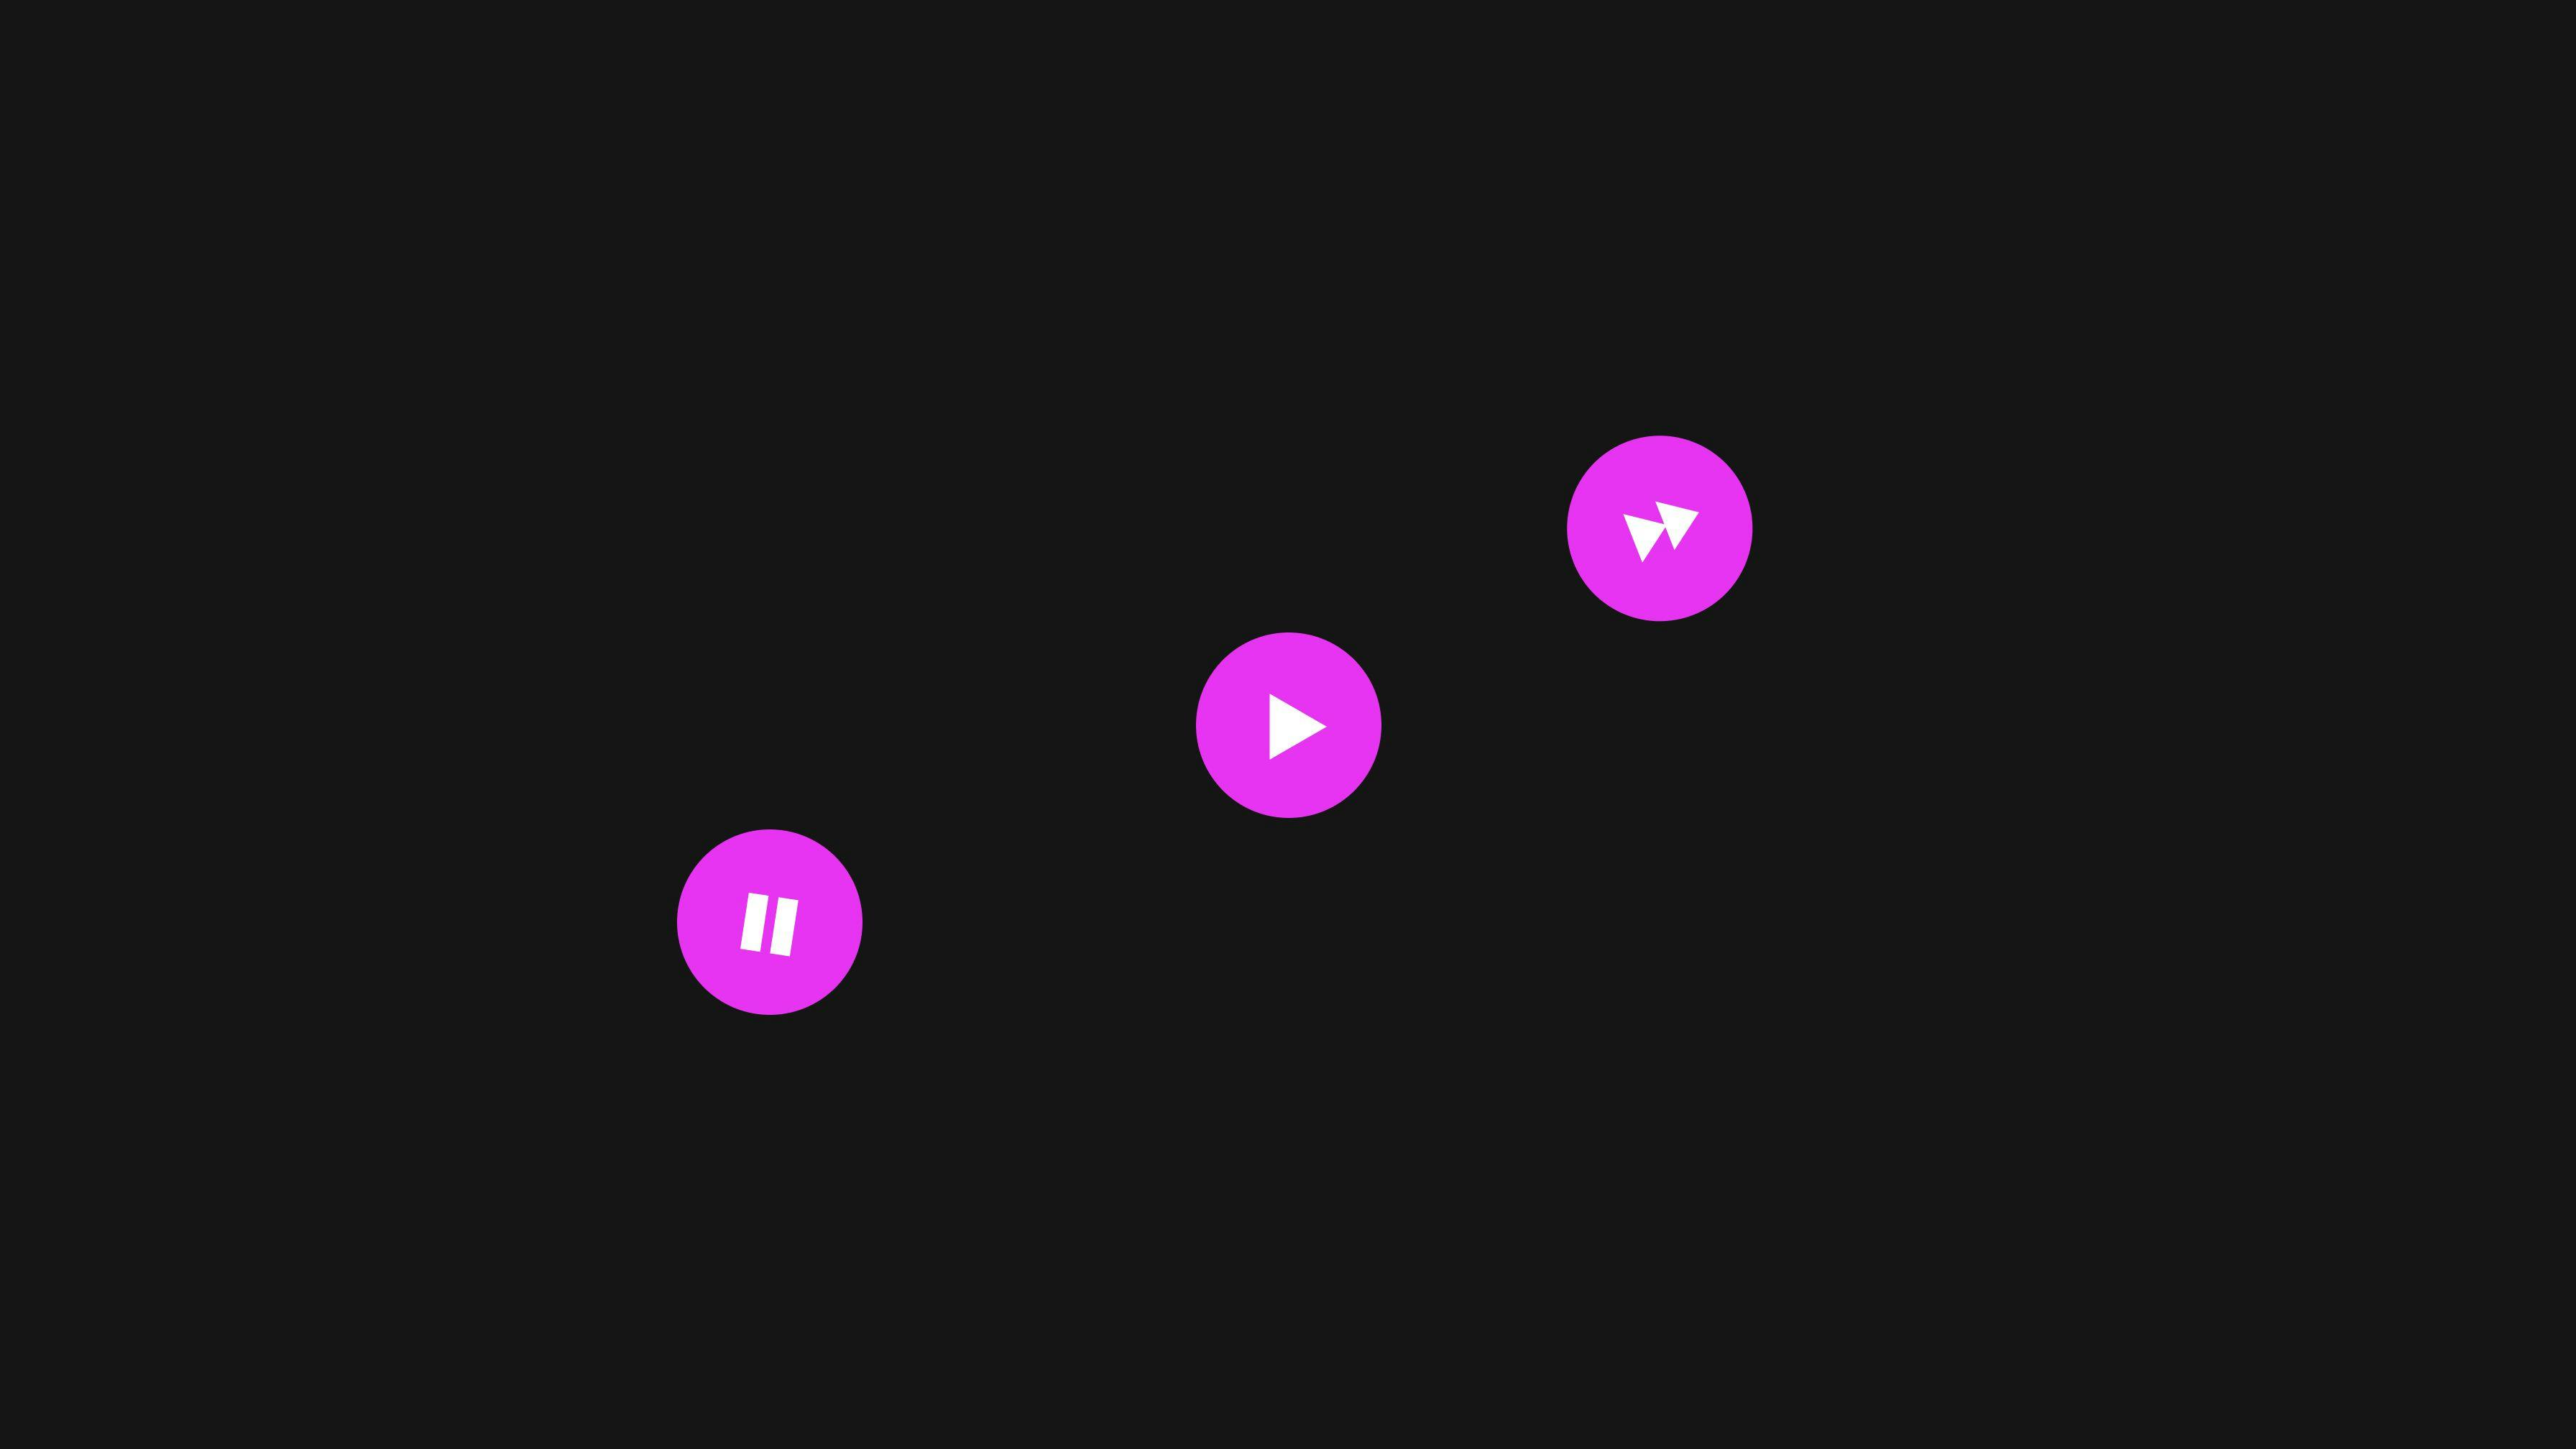
Most recently, we’ve used this technique as the basis for a Gatsby implementation we did on a client projectSee also MyriadCase. Here, we’re using the cursor to suggest different interaction states. Whether it’s a video that can be played or stopped, a page transition, a cursor becoming a UI element that closes a full-screen menu or a sidebar, or even an indication that you can navigate to a new slide, it’s just a matter of showing the appropriate SVG icon based on the React application state.
Have fun!
Droplets
Droplets
Sign-up to get the latest insight from 14islands. We send a newsletter only once every quarter with inspirational links and creative news. It's short and sweet. You can unsubscribe it at any time.

