This is about
Tech
3 minutes
10 Nov 2022
This is about
Tech
3 minutes
10 Nov 2022
Using the Jaws-effect to transition between 2D and 3D

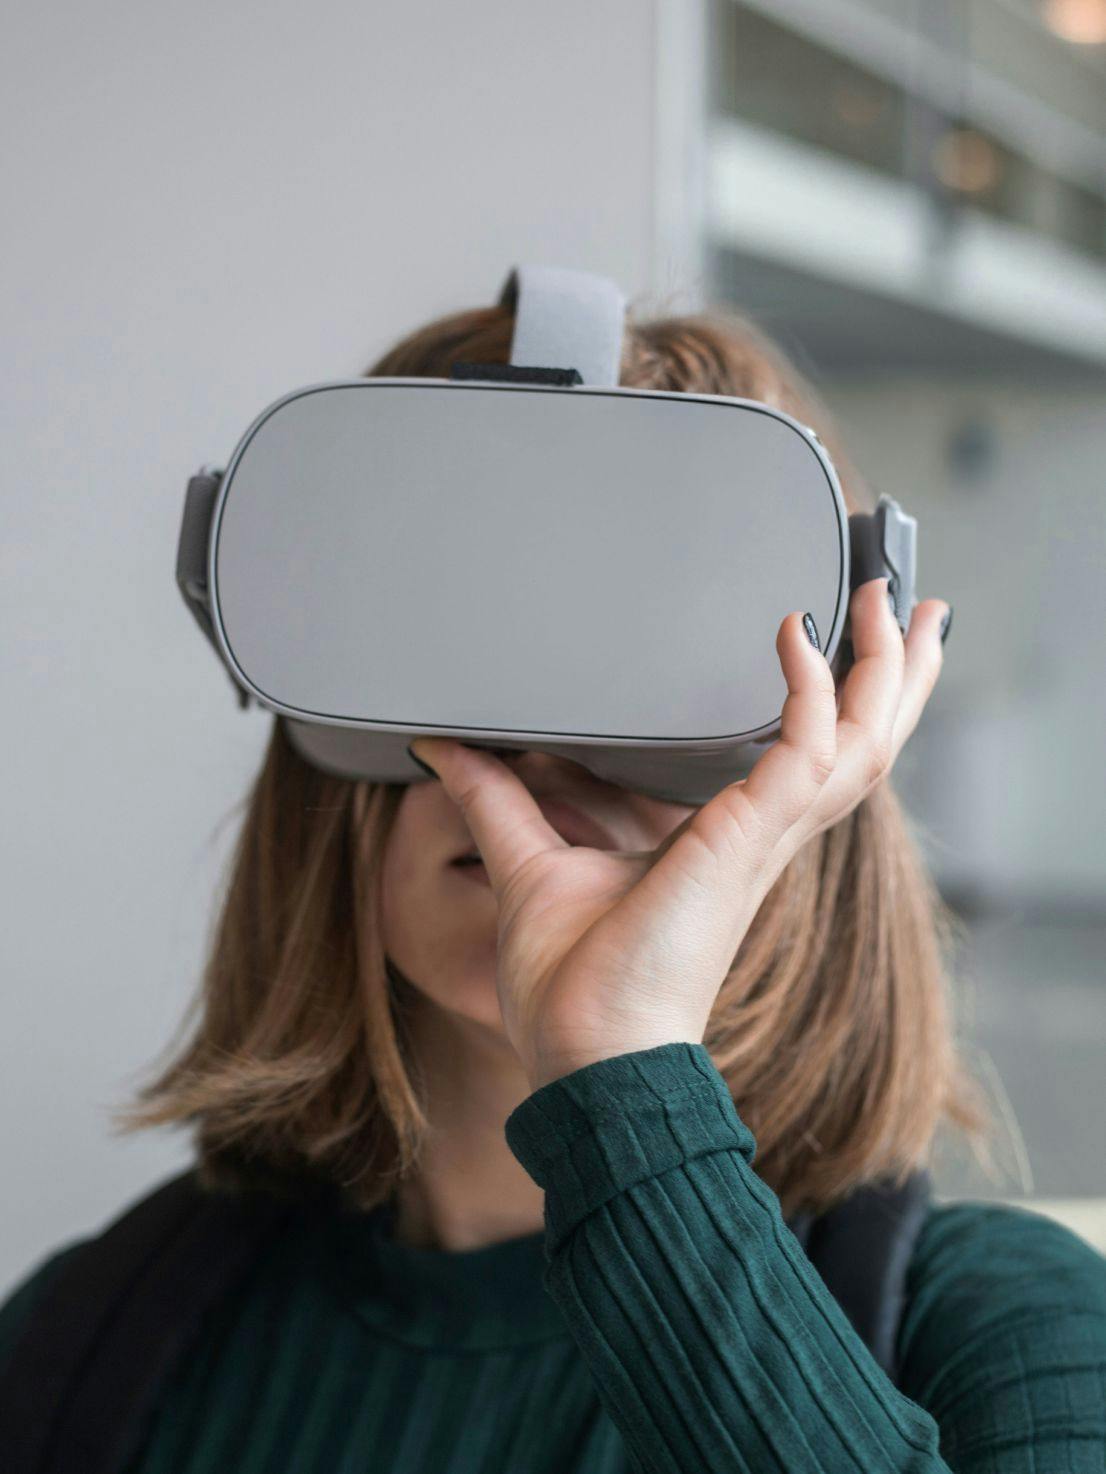
Last year, one of our clients in the VR/AR industry pushed us to create a website that could transition from flat 2D to 3D and all the way into extended reality when wearing a head-mounted display (HMD).
Well, we love a good challenge. 😅
Transition from flat 2D into shaded 3D on hover
The client really wanted us to embrace the fact that traditional websites are two dimensional. We decided to restrict three-dimensional effects as a way of surprising the user and also pushing users into exploring the website in XR.
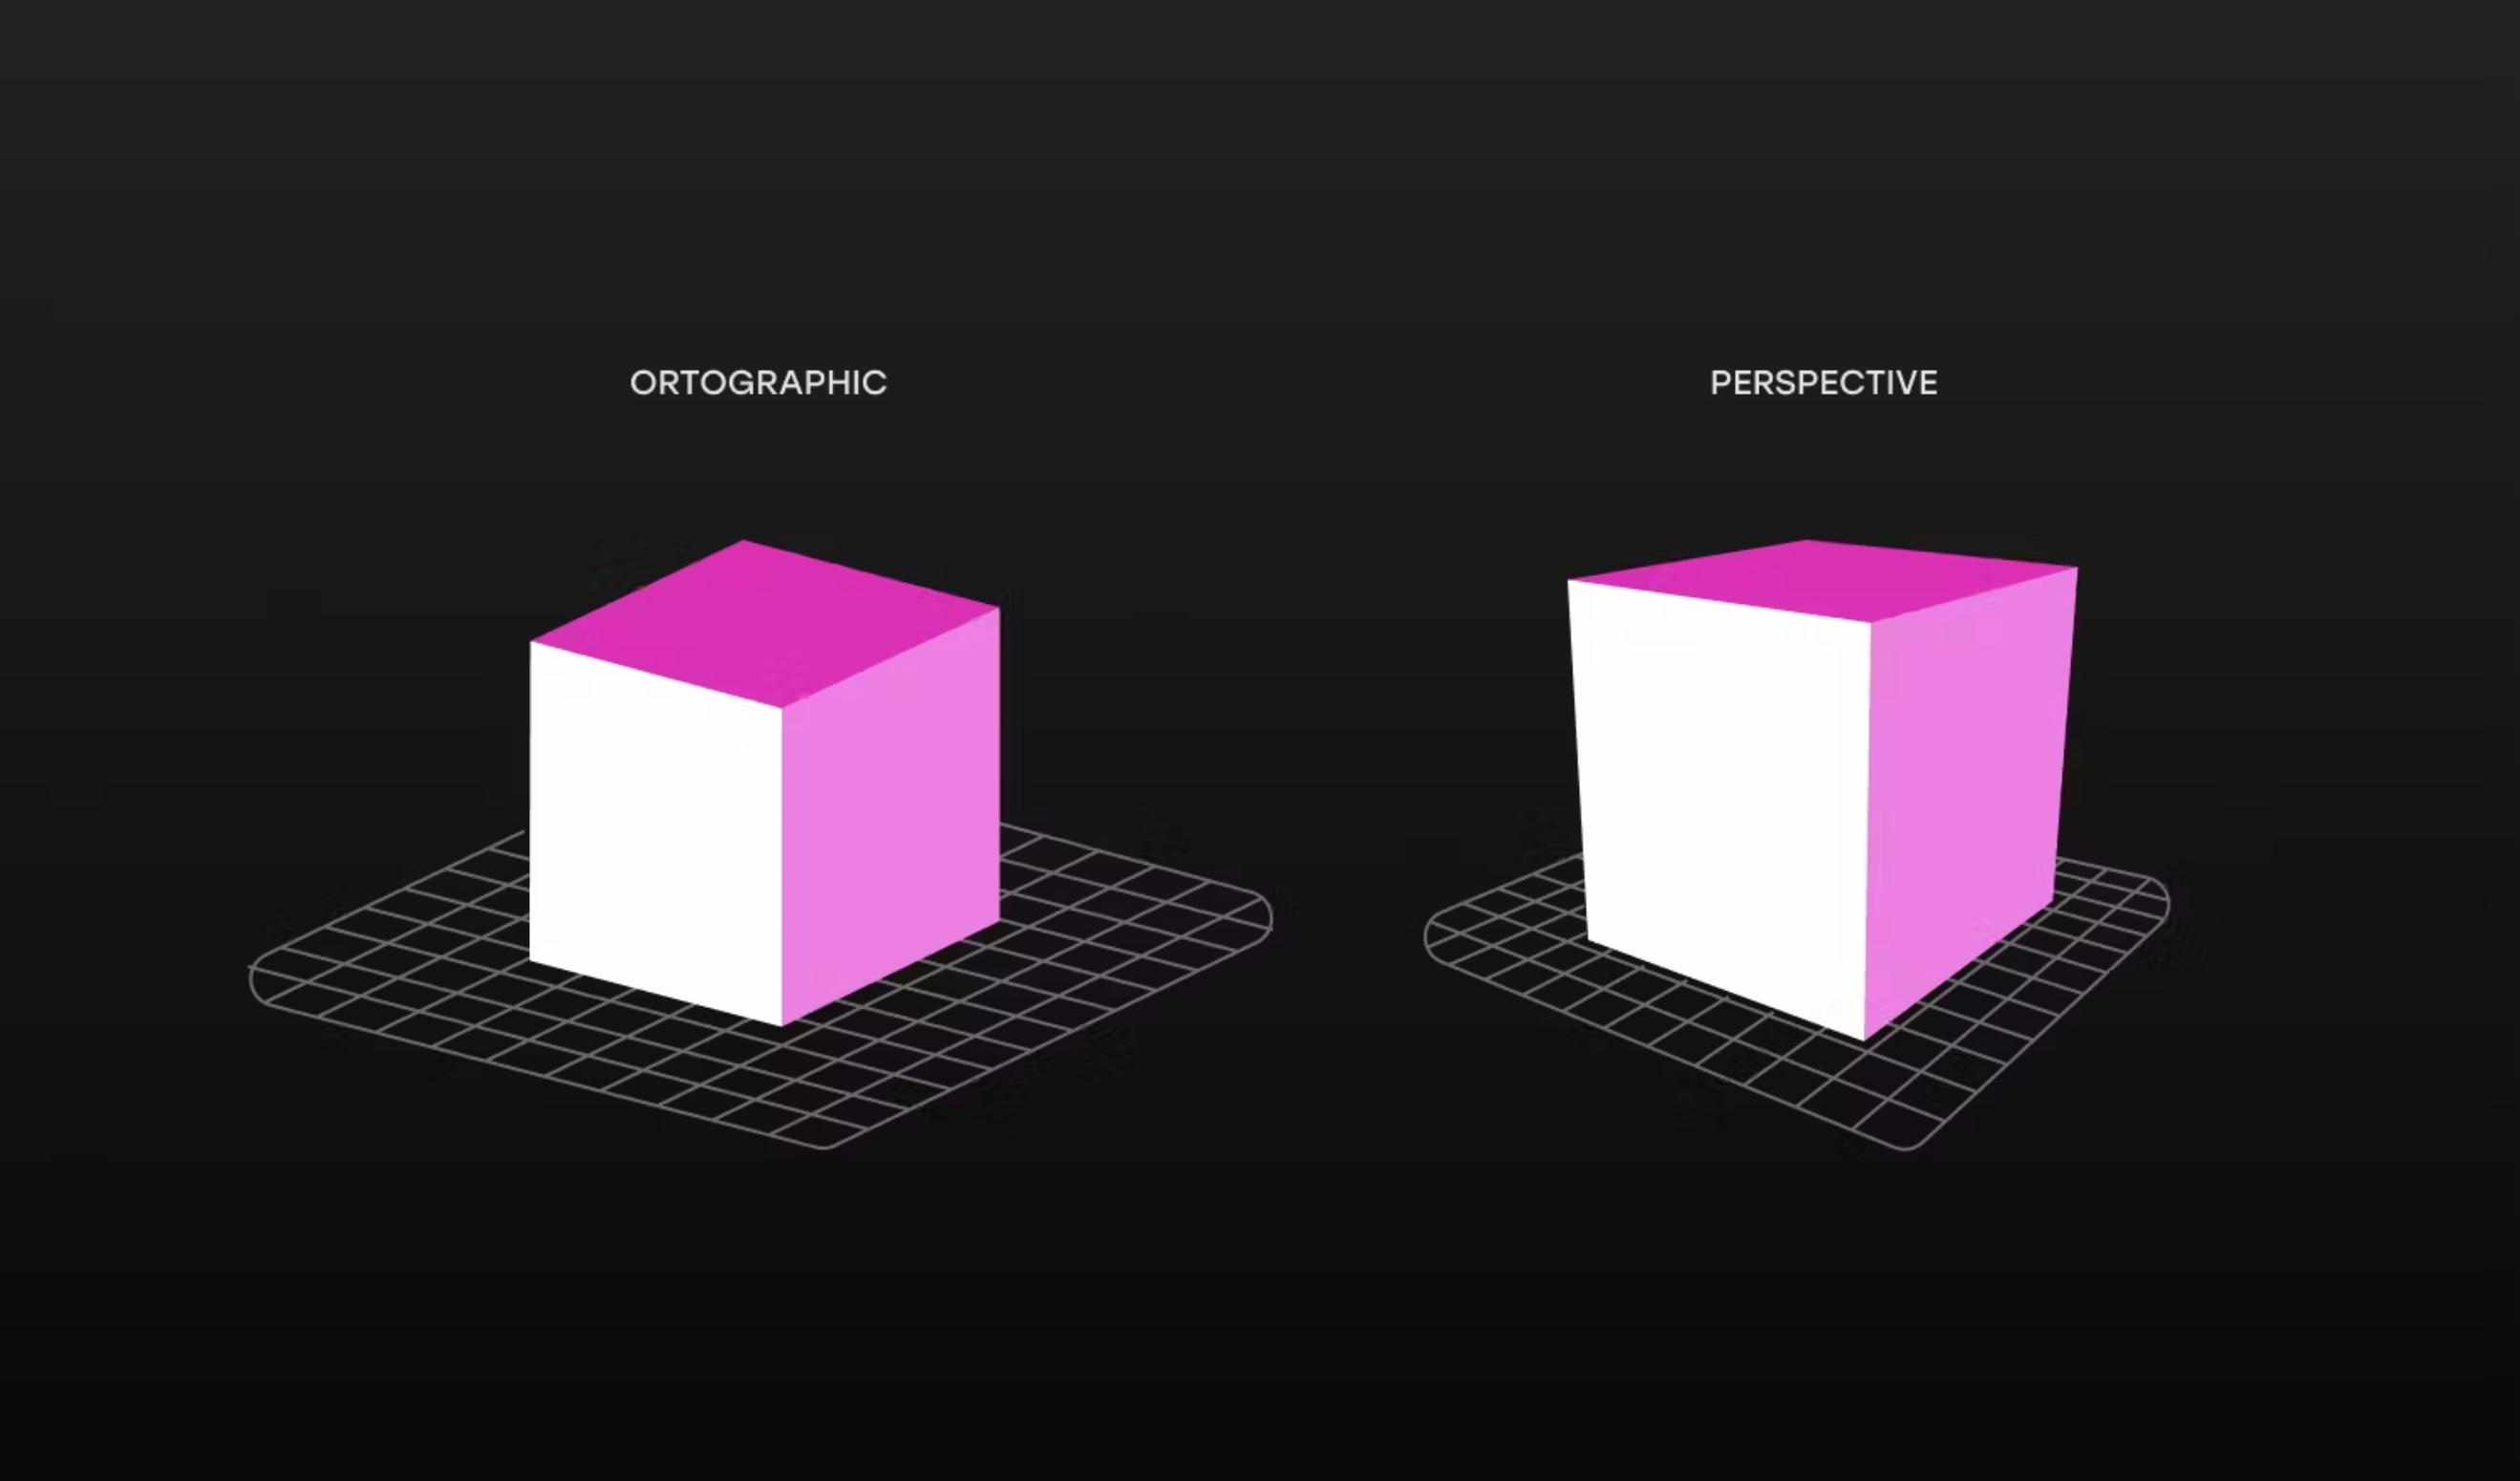
In Three.js we have two types of cameras:
- An orthographic camera, which is great for rendering flat 2D objects
- A perspective camera, which is used to give depth to 3D scenes
However, there is no way to smoothly animate between the two… 🤔
Enter the Jaws effect
Dolly zoom, Hitchcock shot, Vertigo shot, Jaws effect — sound familiar? No? I bet you recognise this famous clip from the movie Jaws, or have seen a similar effect where the background appears to change size relative to the subject.
The effect is achieved by zooming a camera lens to adjust the field of view (FOV) while the camera dollies (moves) toward or away from the subject. The key is to change the zoom and distance in such a way as to keep the subject the same size in the frame throughout.
Ok this is cool, but what does it have to do with going from 2D to 3DSee also PlutoCase?
Perspective distortion
Well, it turns out, that if we zoom a perspective camera enough, the FOV becomes so small that lines look parallel. This is a form of perspective distortion.
Putting our theory into practice
In the following example, we start by placing the camera five units away from the object on the Z-axis and center the object. This will be used as our base and is how we normally show a 3D object in our scene.
In order to remove the perspective, we move the camera back to 200 units away from the object on the Z-axis and zoom in 40x.
How far back you move the camera is up to you, but in this case the object looks almost flat around 200 units away. Why zoom 40x? If we divide 200 by the original distance (5) we know how much we need to zoom to keep the object the same size in the viewport frame.
Hover or click the object to change perspective in this Sandbox.
But it still doesn’t look flat! We need a way to remove the specular highlights created by our environment map and directional lights in the scene.
A quick way to remove highlights is to set roughness=1 on the material. Now we just need to make all sides of the object receive the same amount of light. We can change the diffuse to match the color of the material, which effectively makes all unlit areas the same color.
And there you have it! Make sure you check out Pluto and see if you can find all the places we use this technique 🔎