This is about
Design
4 minutes
29 Jun 2022
This is about
Design
4 minutes
29 Jun 2022
How to create your own 3D character

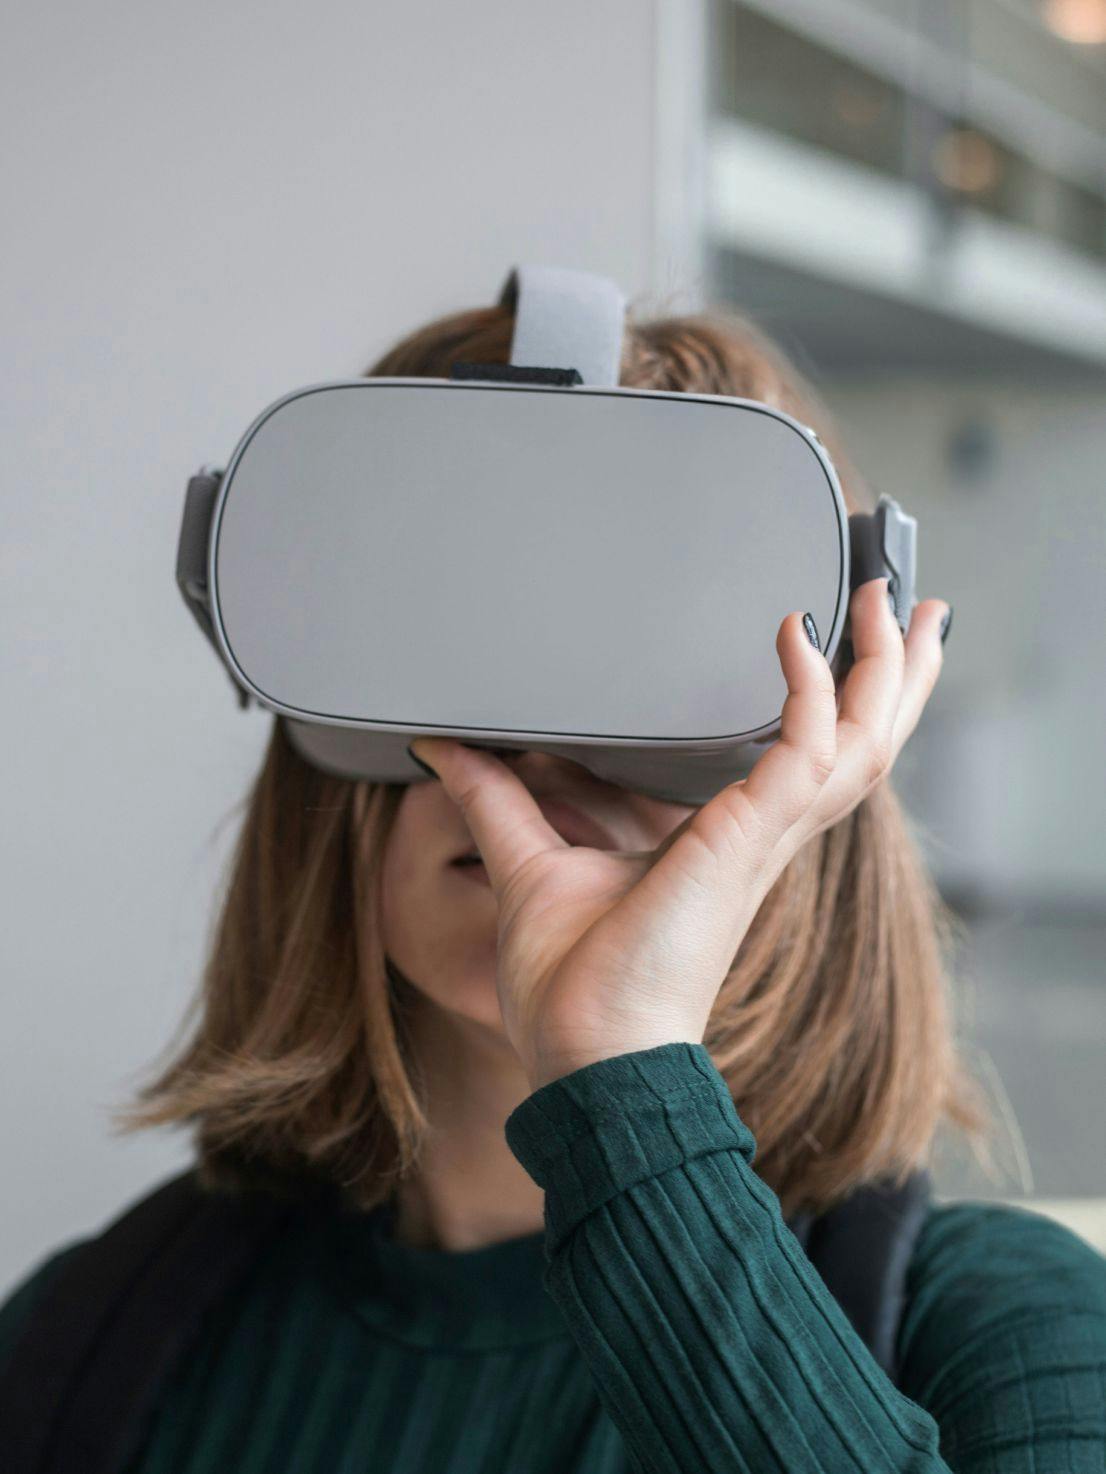
At 14islands we believe in the potential of 3D as a communication tool. With the advent of NFTs and the rise of the metaverse, we want to explore what many consider a rich and immersive new digital world that combines aspects of social media, online gaming and augmented and virtual reality; but whose concept was born a few decades ago as a result of the science fiction novel Snow Crash, written by Neal Stephenson and published in 1992. Although his stellar appearance in films such as Ready Player One or Free Guy has helped to popularize and make known this digital space of reinvention and possibilities.
We are ready for the arrival of the next great evolutionary leap of the Internet, and with it, the digitization of our identity. In the interconnected universe of the metaverse the limits of reality are those of your imagination, without physical or economic barriers, so feel free to create the version of yourself that you most desire. In our case, it is a female character in 3 dimensions strongly inspired by the motorsport world.
To CGI world beginners
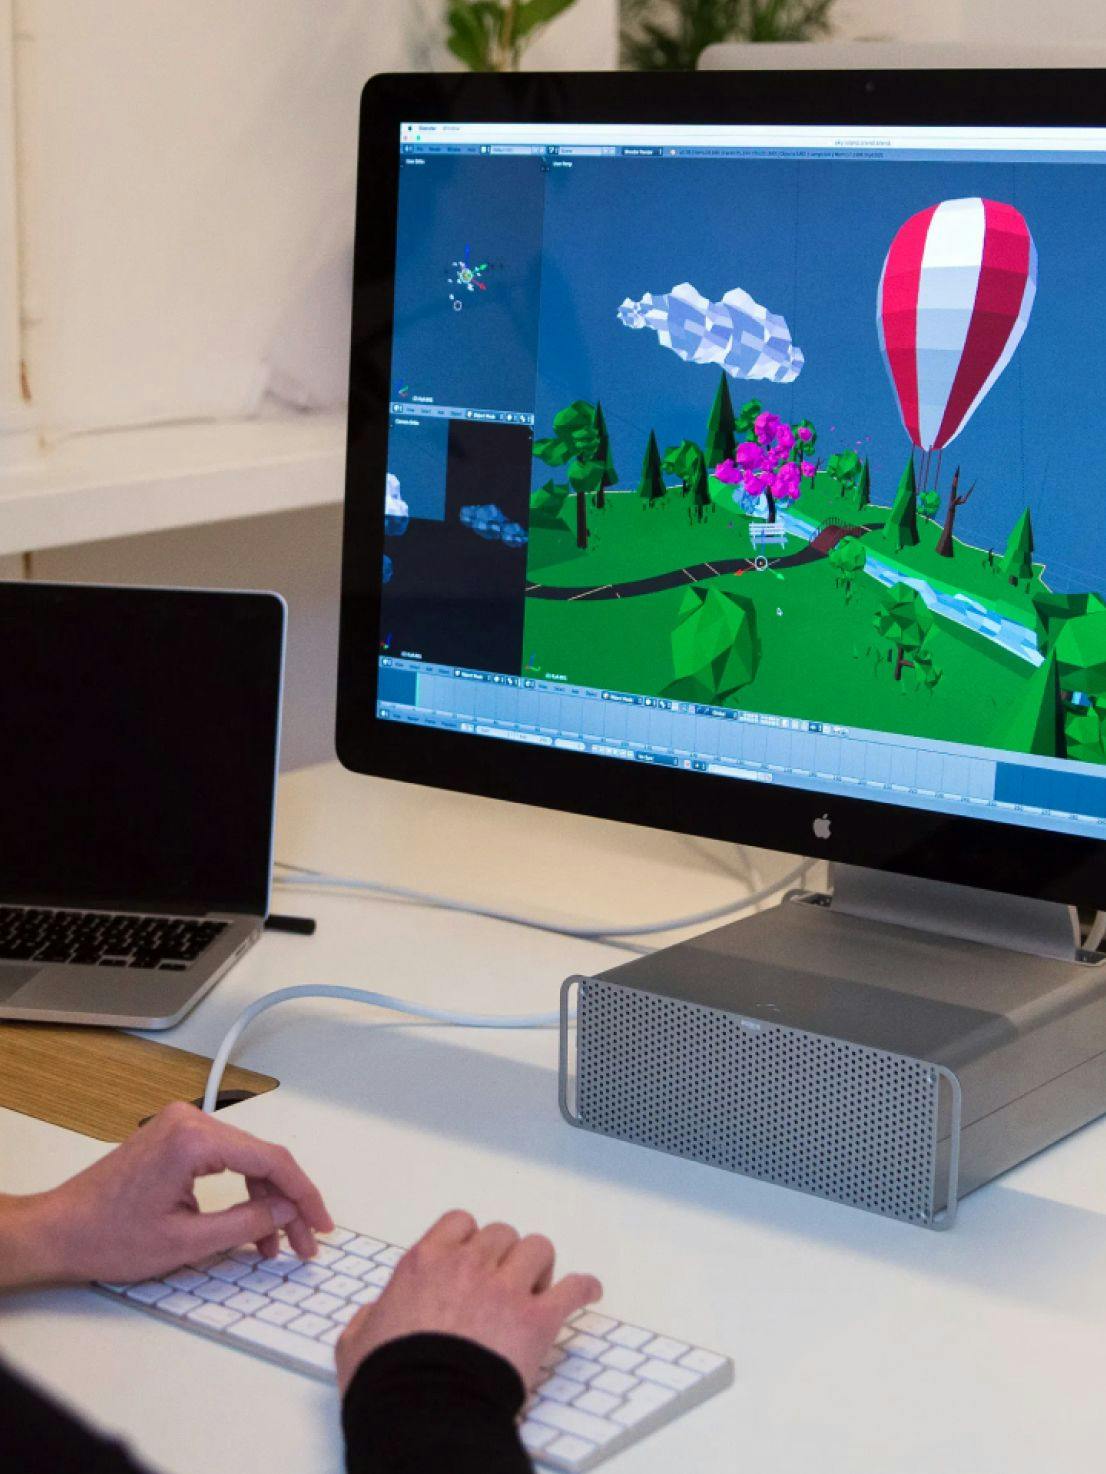
Designing a 3D character is one of the more complex tasks that you can do inside the CGI world. It requires sketching your ideas first as a 2D process and then taking on many different technical terms, phases and processes: modeling, rigging, preparing UVs, texturing and creating materials, and other various ways to execute the same tasks. In this video we are going to show the step-by-step process of how we modeled our own 3D character.
Character design
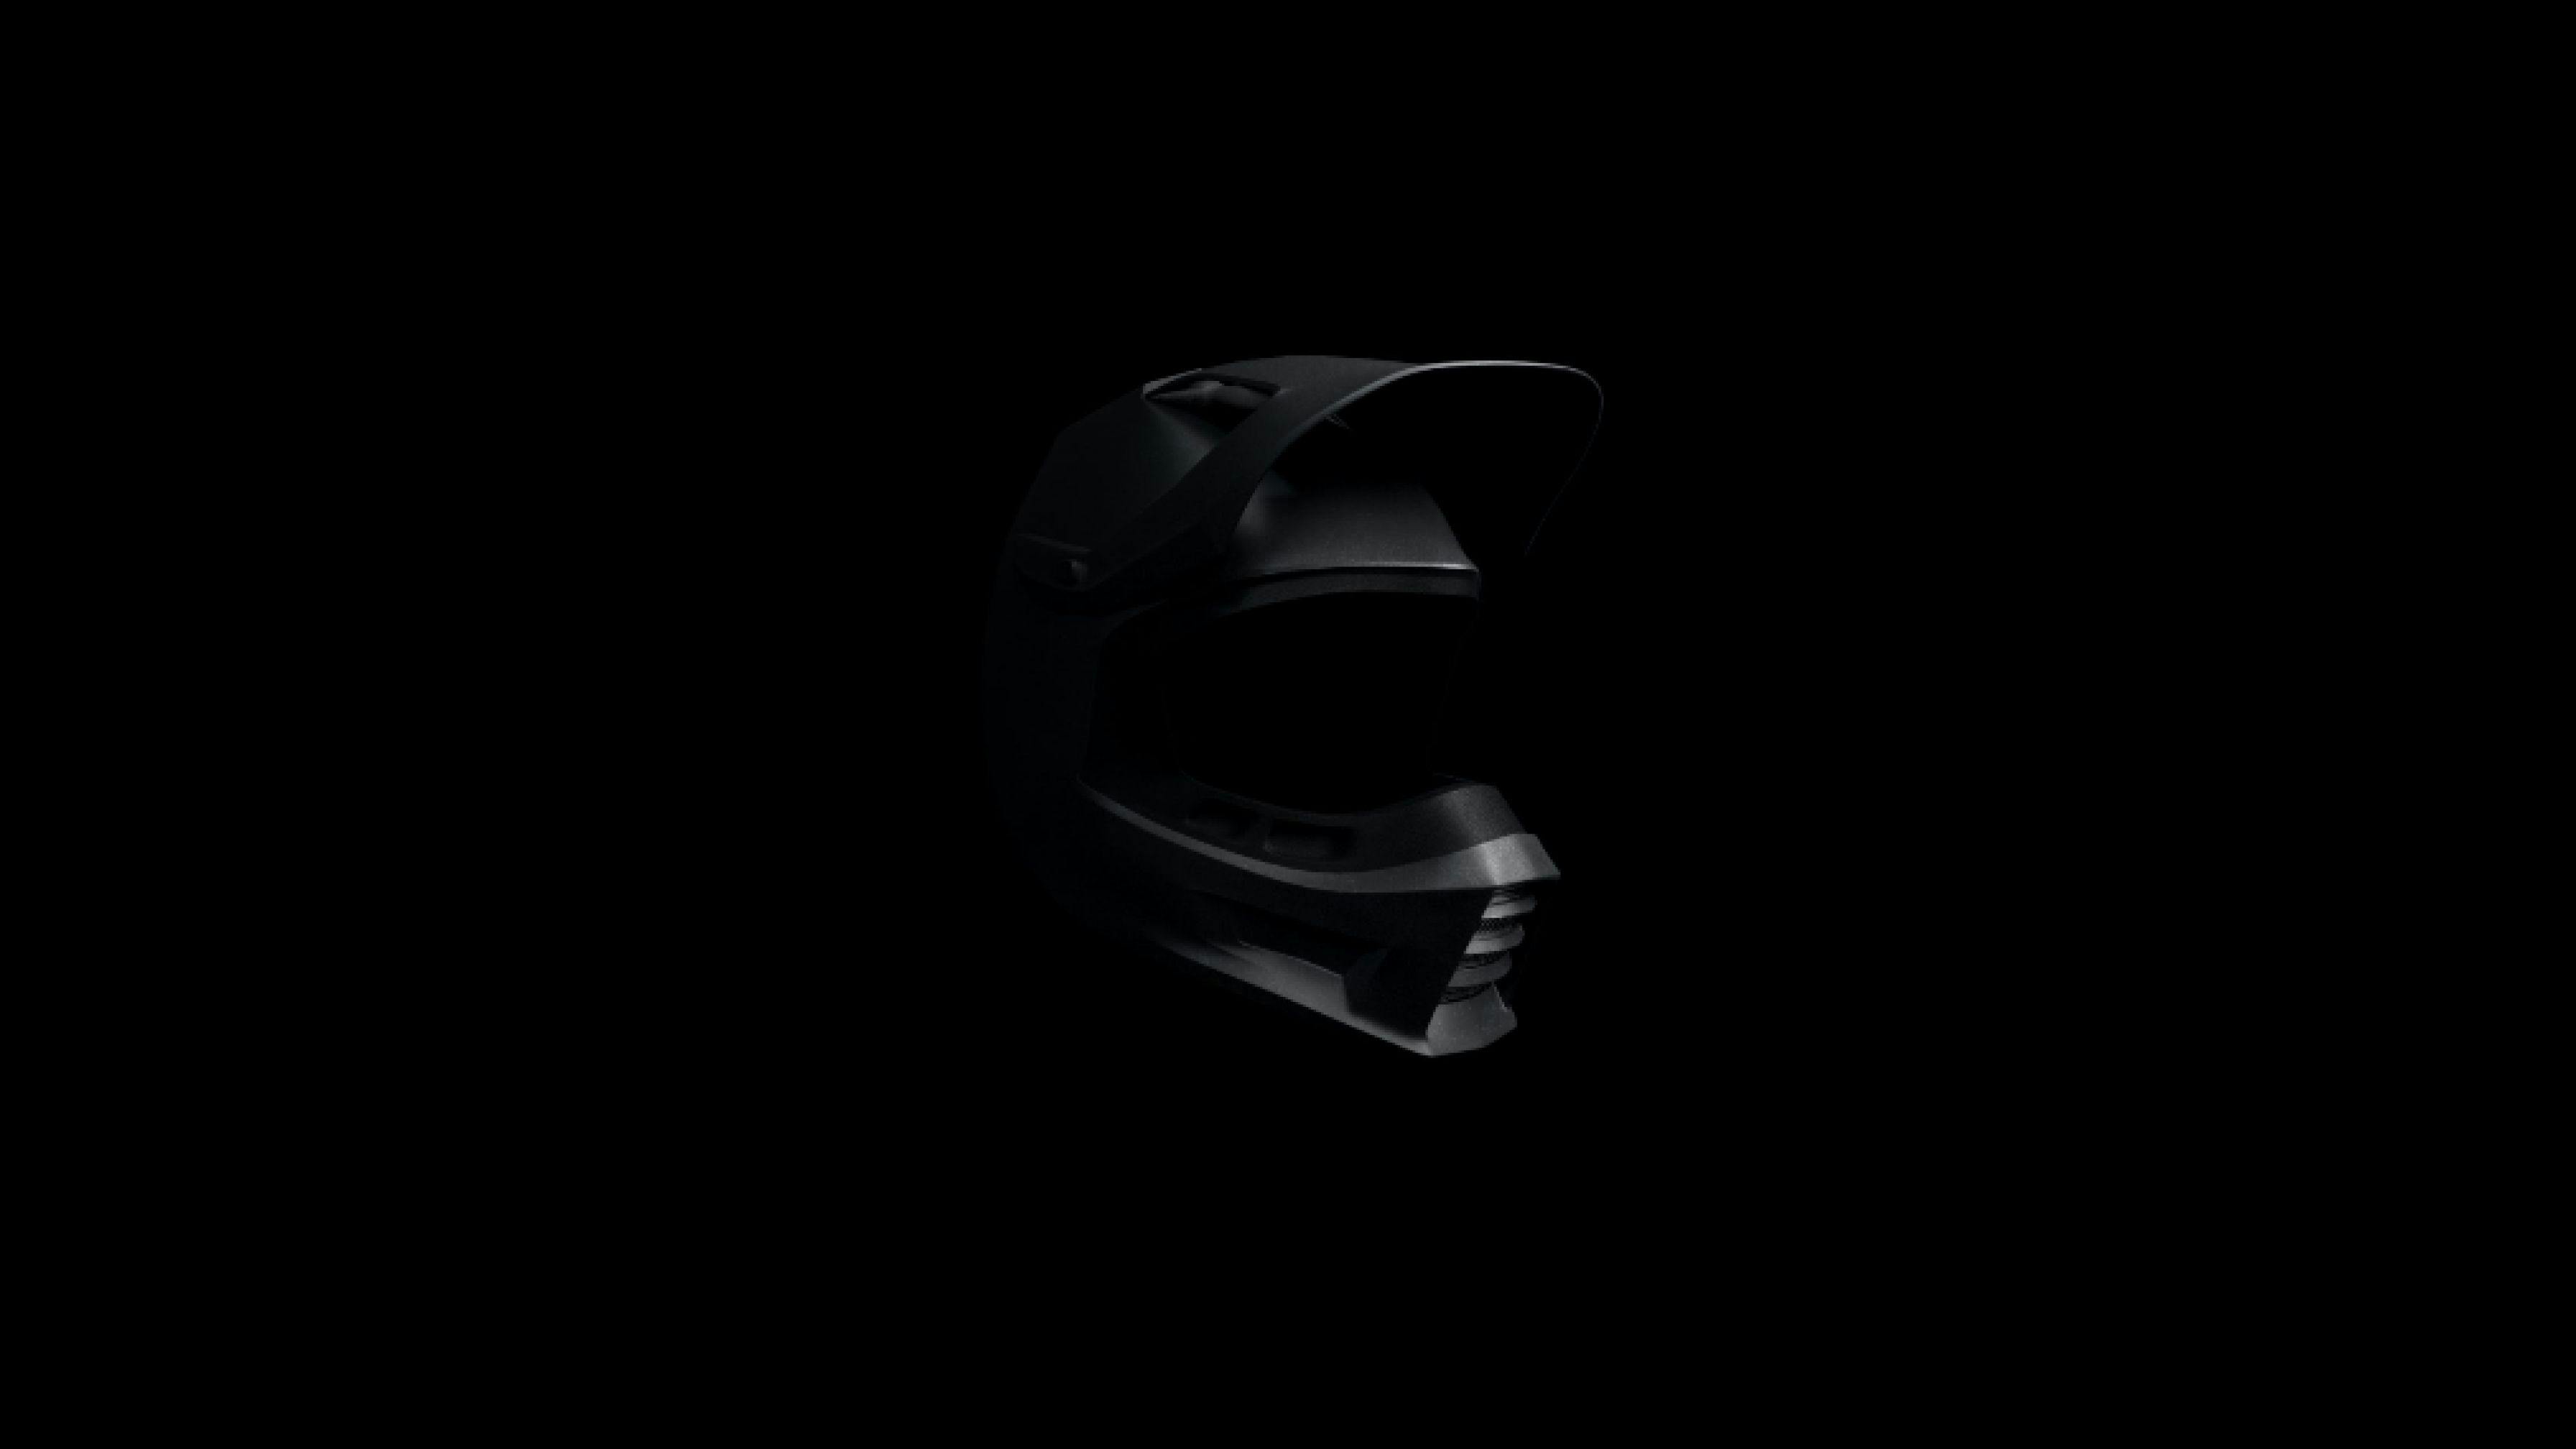
First of all, we decided we wanted to create a realistic female character and next, we wondered what elements would make up her personality. The character is inspired by motorsports, so we thought of a girl wearing a motocross helmet, capturing the checkered flag in some details of her clothes.
Our 3D character is made up of the following components: the helmet, top, hands, belly, trousers, feet, shocks, shoes and hair.
Then it's the blueprints' turn. To follow the same proportion, we draw a profile and front view of our character that will act as a guide or template. Once we have imported these drawings into the 3d software, which in this case is Autodesk Maya, we start with the modeling phase.
Modeling
It's important to mention that some elements, such as the clothes and hair, can be either modeled or simulated, but in our case, we chose the first option, since it would be easier for us to take our avatar to the web. Simulations are, generally, much more complex and heavier than 3D models.
In the video, we can see in the time lapse what the mesh of each of the components looks like, while trying to generate the least amount of geometry possible, but still ensuring a correct visualization of the shapes. In total, our character contains 362.927 verts, which form a mesh based on regular squares.
A tip to model faster and avoid imperfections and asymmetries is to choose one of the sides, right or left, sculpt that part, and then use the mirror tool.
Renders
After a 20-minute overview of the modeling process, we moved on to rendering front and side views of the character, as well as some component details.
We can see how the geometry and material of the skin looks, where we use subsurface scattering. This mechanism of light transport works by simulating how the light penetrates a translucent surface. When the light penetrates the surface, it is reflected at irregular angles inside the material before passing back out of it at a different angle than it would have had if it had been reflected directly off the surface. So “subsurface scattering” is essential to giving our model a realistic look, since one of the most important characteristics or peculiarities of the skin is its level of translucency.
Other renderings also allow us to check how the normal maps used in the shoes are adapted to the geometry and how we can simulate different types of volumes on the same surface with a small amount of polygons.
And finally, texture is applied on rounded and organic shapes like the motocross helmet, where it is very important to pay attention to the UVs to ensure that the maps do not deform at the joining points.
Droplets
Droplets
Sign-up to get the latest insight from 14islands. We send a newsletter only once every quarter with inspirational links and creative news. It's short and sweet. You can unsubscribe it at any time.